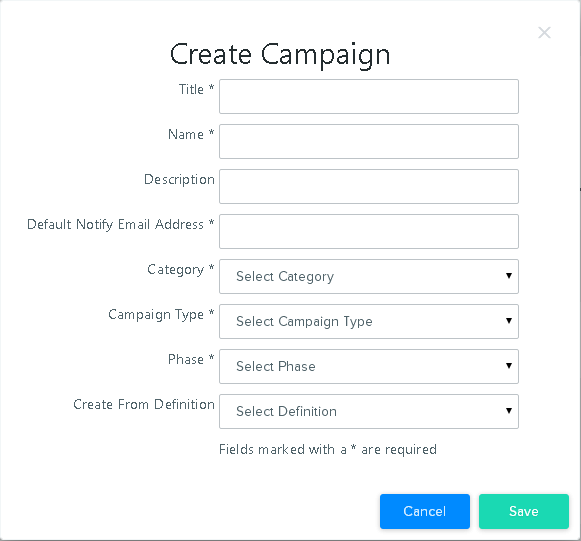
Create Campaign
Create a new Automation Campaign.
To Create an Automation Campaign
- Go to MARKETING AUTOMATION > AUTOMATION CAMPAIGNS and click Add Campaign. This will display the Create Automation Campaign popup. Fields with an asterisk are required.

- Enter the required Title, Name, and Default Notify Email Address. Add an optional Description.
Title: Used throughout the UI to identify the Definition/Campaign. Special characters other than space and underscore are not allowed.
Name: Used in the API commands to identify the Definition/Campaign. Name should be short and contain no special characters or spaces.
Description: Optional explanation of the purpose of the Definition/Campaign.
Default Notify Email Address: Email address to send notifications about the status of the Campaign.
- Select Reporting Labels
- To create a new Campaign based on a pre-defined workflow, select a Definition from Create from Definition.
- Click SAVE to save the Campaign. Click CANCEL to return to the Automation Campaign Library page without saving the Campaign.
After you create the Campaign, the Create Automation Campaign popup will close and the new Campaign will appear in the list of Campaigns.
To define the workflow, click the Title of the Campaign to open the Automation Builder. See Building a Workflow for details on building the workflow.