A Simple Automation Campaign
An Automation Campaign is a group of event types that are executed over time based on a contacts actions.
The following is a step-by-step process for creating and deploying a simple Automation Campaign. In this example, you will need to create:
- Two Lists, one with contacts
- One List Definition
- One Template
- One Marketing Automation Campaign
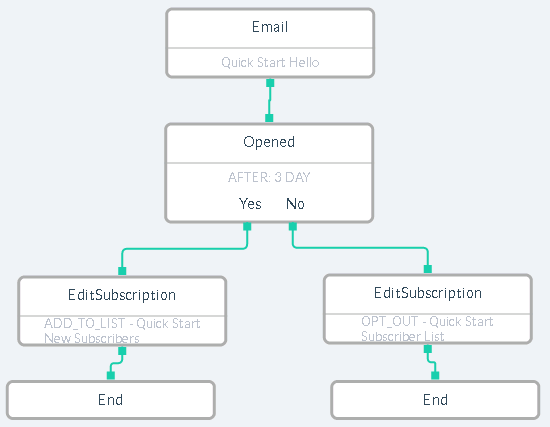
The flow of the Automation Campaign will be:
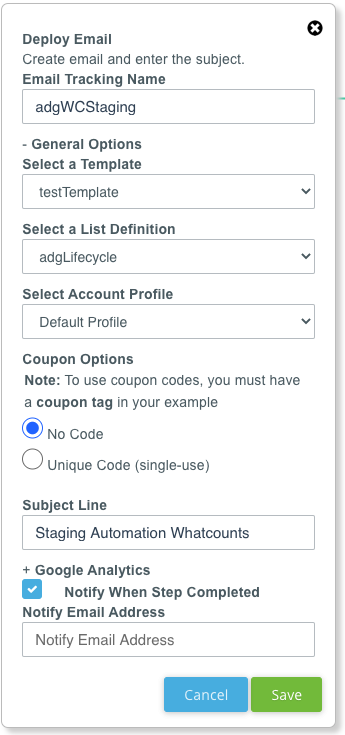
- Deploy Email to a List
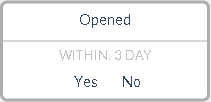
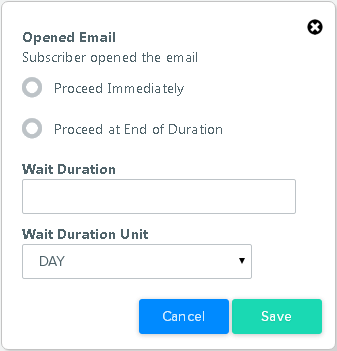
- Check for Contact Opens
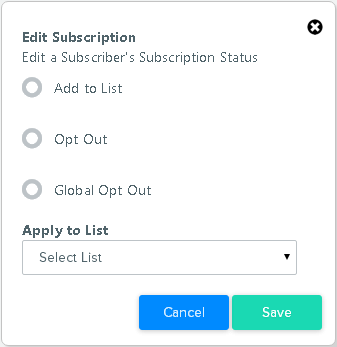
- If Open, then Subscribe to a second list.
- If No Open, then Optout from first list.
Marketing Automation is a very robust feature, and many aspects are skimmed over to allow you a basic understanding.
Step 1: Setup Lists
Lists are collections of one or more contacts (via subscription to the List) and control the properties necessary to send an Email campaign. These properties include the From and Reply To address, as well as more advanced settings, such as tracking and workflow requirements.
List Definitions are similar in that they control the properties necessary to send an Automation Campaign. However, contacts are not 'subscribed' to a List Definition with a subscription. Instead, an Automation Campaign uses the properties from the List Definition to send a new message to a batch of Contacts.
Before you can define an Automation Campaign and Deploy, you must first:
-
Create a List for your contacts.
- Go to LISTS > VIEW LISTS and click Add List. This will display the Add List page.
- Enter the List Name. List Type will default to Normal.
- Click SAVE to save the List.
- When you create the List, the Edit List page will display where you can define your List Properties. This is the list of Contacts that will be used in the Automation Campaign.
- Import contacts into your list.
- Create a list for new contacts following the same steps as above.
-
Create a List Definition for the Automation Campaign.
- Go to LISTS > LIST DEFINITIONS and click Add List Definition. This will display the Add List Definition page.
- Enter the List Definition Name.
- Click SAVE to save the List Definition.
- When you create the List Definition, the Edit List page will display where you can define your List Definition properties. These are the properties that will be used in the Automation Campaign. See List Properties for details on defining the properties.
Step 2: Define Content
In order to send an email message to contacts from an Automation Campaign, you must define your content. To do this, go to CONTENT > VIEW TEMPLATES. Click Add Template. For more information about adding content, see Create Template and add content.
Deploying an email is not required of an Automation Campaign, but a template will be used in this example.
Step 3: Setup Marketing Automation Campaign
The Automation Campaign defines the workflow of events to run in response to contact actions. Before you can define the Automation Campaign flow, you must create the reporting labels. These will be used in future Automation Reporting features. While there are several default reporting labels predefined, create one of each type for this simple test.
- Create an Automation Campaign
- Go to MARKETING AUTOMATION > AUTOMATION CAMPAIGNS to open the Automation Campaign Library.
- Click Add Campaign. The Create Automation Campaign popup will display.
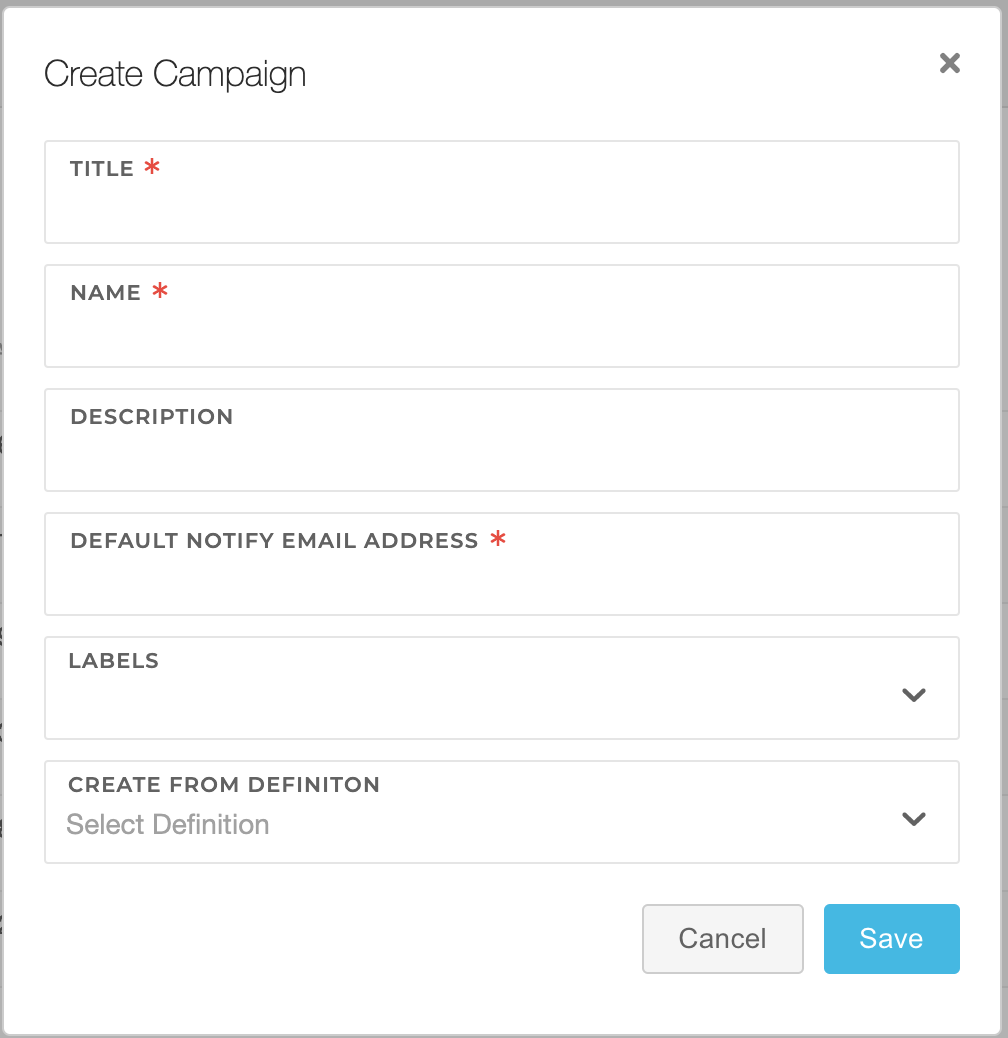
- Enter a Title, Name, and Description. The Title is used in the user interface to allow you to easily recognize the Automation Campaign. The Name is used in the API commands. Title and Name do not allow special characters other than dash (-) and underscore (_). Title also accepts a space.
- Select a Label.
- Click Save. The popup will close and the new Automation Campaign will appear as Inactive in the Marketing Automation Campaign Library.
Step 4: Define the Marketing Automation Campaign
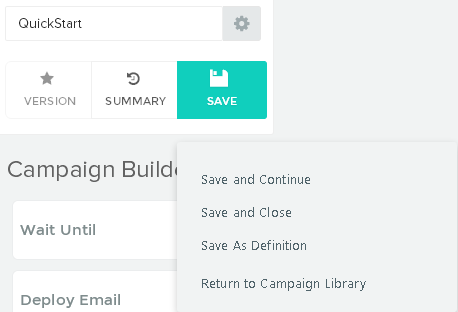
Once the Automation Campaign has been created, you can build the action flow using the Marketing Automation Builder.
| |
|
|
|
|
|
|
|
|
|  |
|  |
Step 5: Deploy the Marketing Automation Campaign
The final step is to use the Deploy Campaign wizard to initiate the Automation Campaign.
- From the Marketing Automation Campaign Library, click the INACTIVE button next to the Automation Campaign to make it Active.
- Go to TASKS > DEPLOY WIZARD to open the Deploy Campaign wizard.
- Set the Mailing Type to Automation.
- Select the Automation Campaign created above.
- Select the List with contacts to send.
- Click Next.
- Verify the settings, then click Send.
Once the campaign is deployed, the contacts will receive the email message, and then the actions of the contacts will set off the rules in the Automation Campaign, either adding the contact to another list, or opting the contact out of the sent list.
NOTE: Your display may appear slightly different in version 10.13.0 and newer. These display changes do not affect the functionality of the feature.

